WHMCS
WHMCS
BotGuard provides the integration plugin for WHMCS billing system.
Installing the plugin
To install the BotGuard plugin on the WHMCS server:
- Download the archive with the extension.
- Extract the contents of the archive to the path where is the WHMCS is installed, like:
tar -zxf botguard-whmcs-latest.tar.gz -C /var/www/html/whmcs/
- Set the required permissions for the extracted folder*:
chown apache:apache -R /var/www/html/whmcs/modules/servers/botguard
*WHMCS directory path and username may differ in various linux distributions.
Configuring the plugin
After installing the plugin:
- Log in to WHMCS as an administrator and open the menu item ‘Addons -> Apps & Integration’.
- Enter 'Botguard' in the search box.
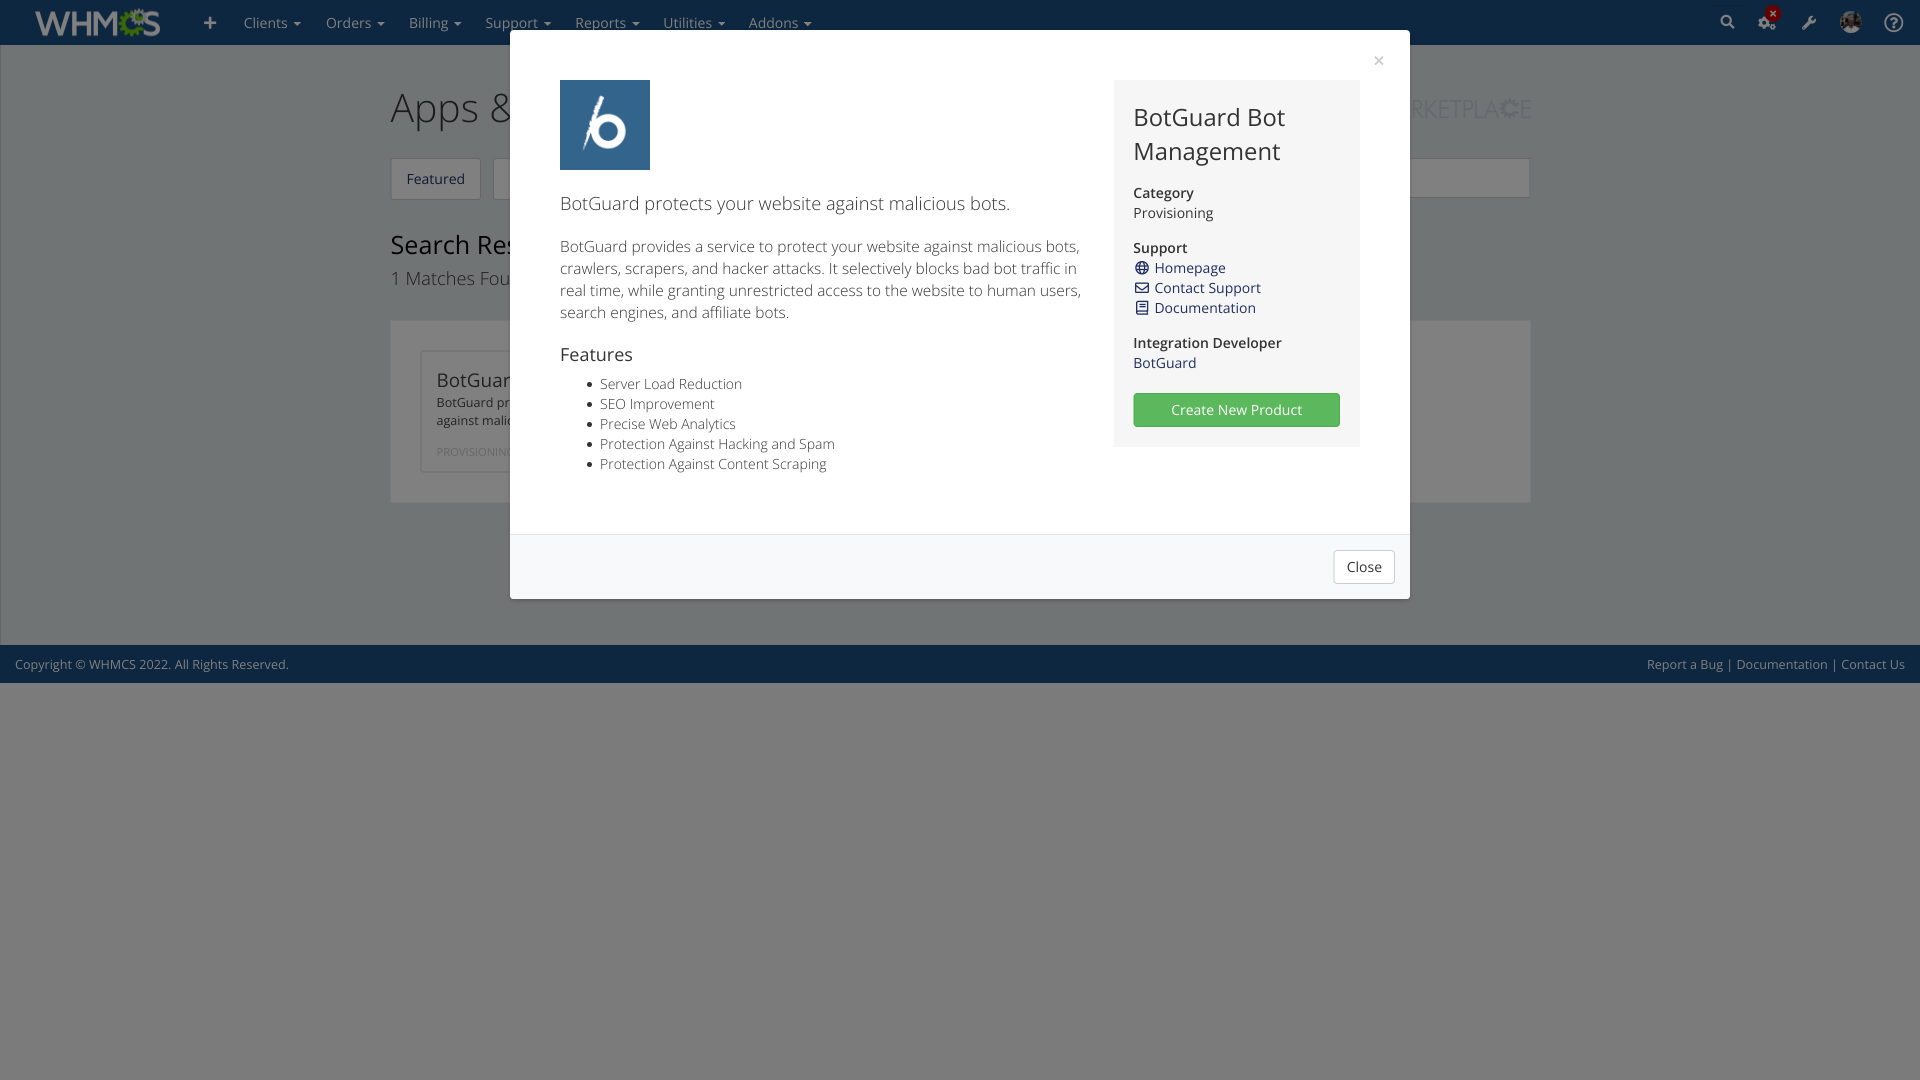
- Click on the found add-on module, read the information and click the button ‘Create New Product’:

- Select the type of product you want, in the ‘Module’ select ‘BotGuard Bot Management’.
- Fill in the rest of the form according to your preferences. Click the ‘Continue’ button and continue creating the product. When you get to the ‘Module settings’ tab, enter your BotGuard account settings.

BotGuard module for WHMCS provides billing integration, access to protection event logs for users and the ability for users to configure protection rules for their websites. The module requires BotGuard to integrate with every web server hosting protected websites. To integrate a web server, follow one of the instructions: for Nginx web server or Apache web server, depending on the installed web server.
Comments
Comments for this post are closed.